Essential iPhone Settings for Low Vision Seniors (Part 1): Step-by-Step Guide
By Ali Jafari — Certified Low Vision Therapist
Every day, I meet seniors who are convinced their iPhone is “too complicated” for them. Most of the time, the phone isn’t the problem — the settings are.
Apple has built some of the most powerful low vision accessibility tools available on any device, and they’re all free, built right in. The problem is they’re hidden, and nobody shows you where to find them.
This is Part 1 of my step-by-step guide to setting up an iPhone specifically for someone with low vision. No jargon. No assumptions. Just clear instructions you can follow alongside your phone right now.
iPhone Settings for Low Vision Seniors:
Before we start, go to Settings → Accessibility. This is your home base. Every setting in this guide lives here.
1. Zoom — Making Everything on Screen Bigger
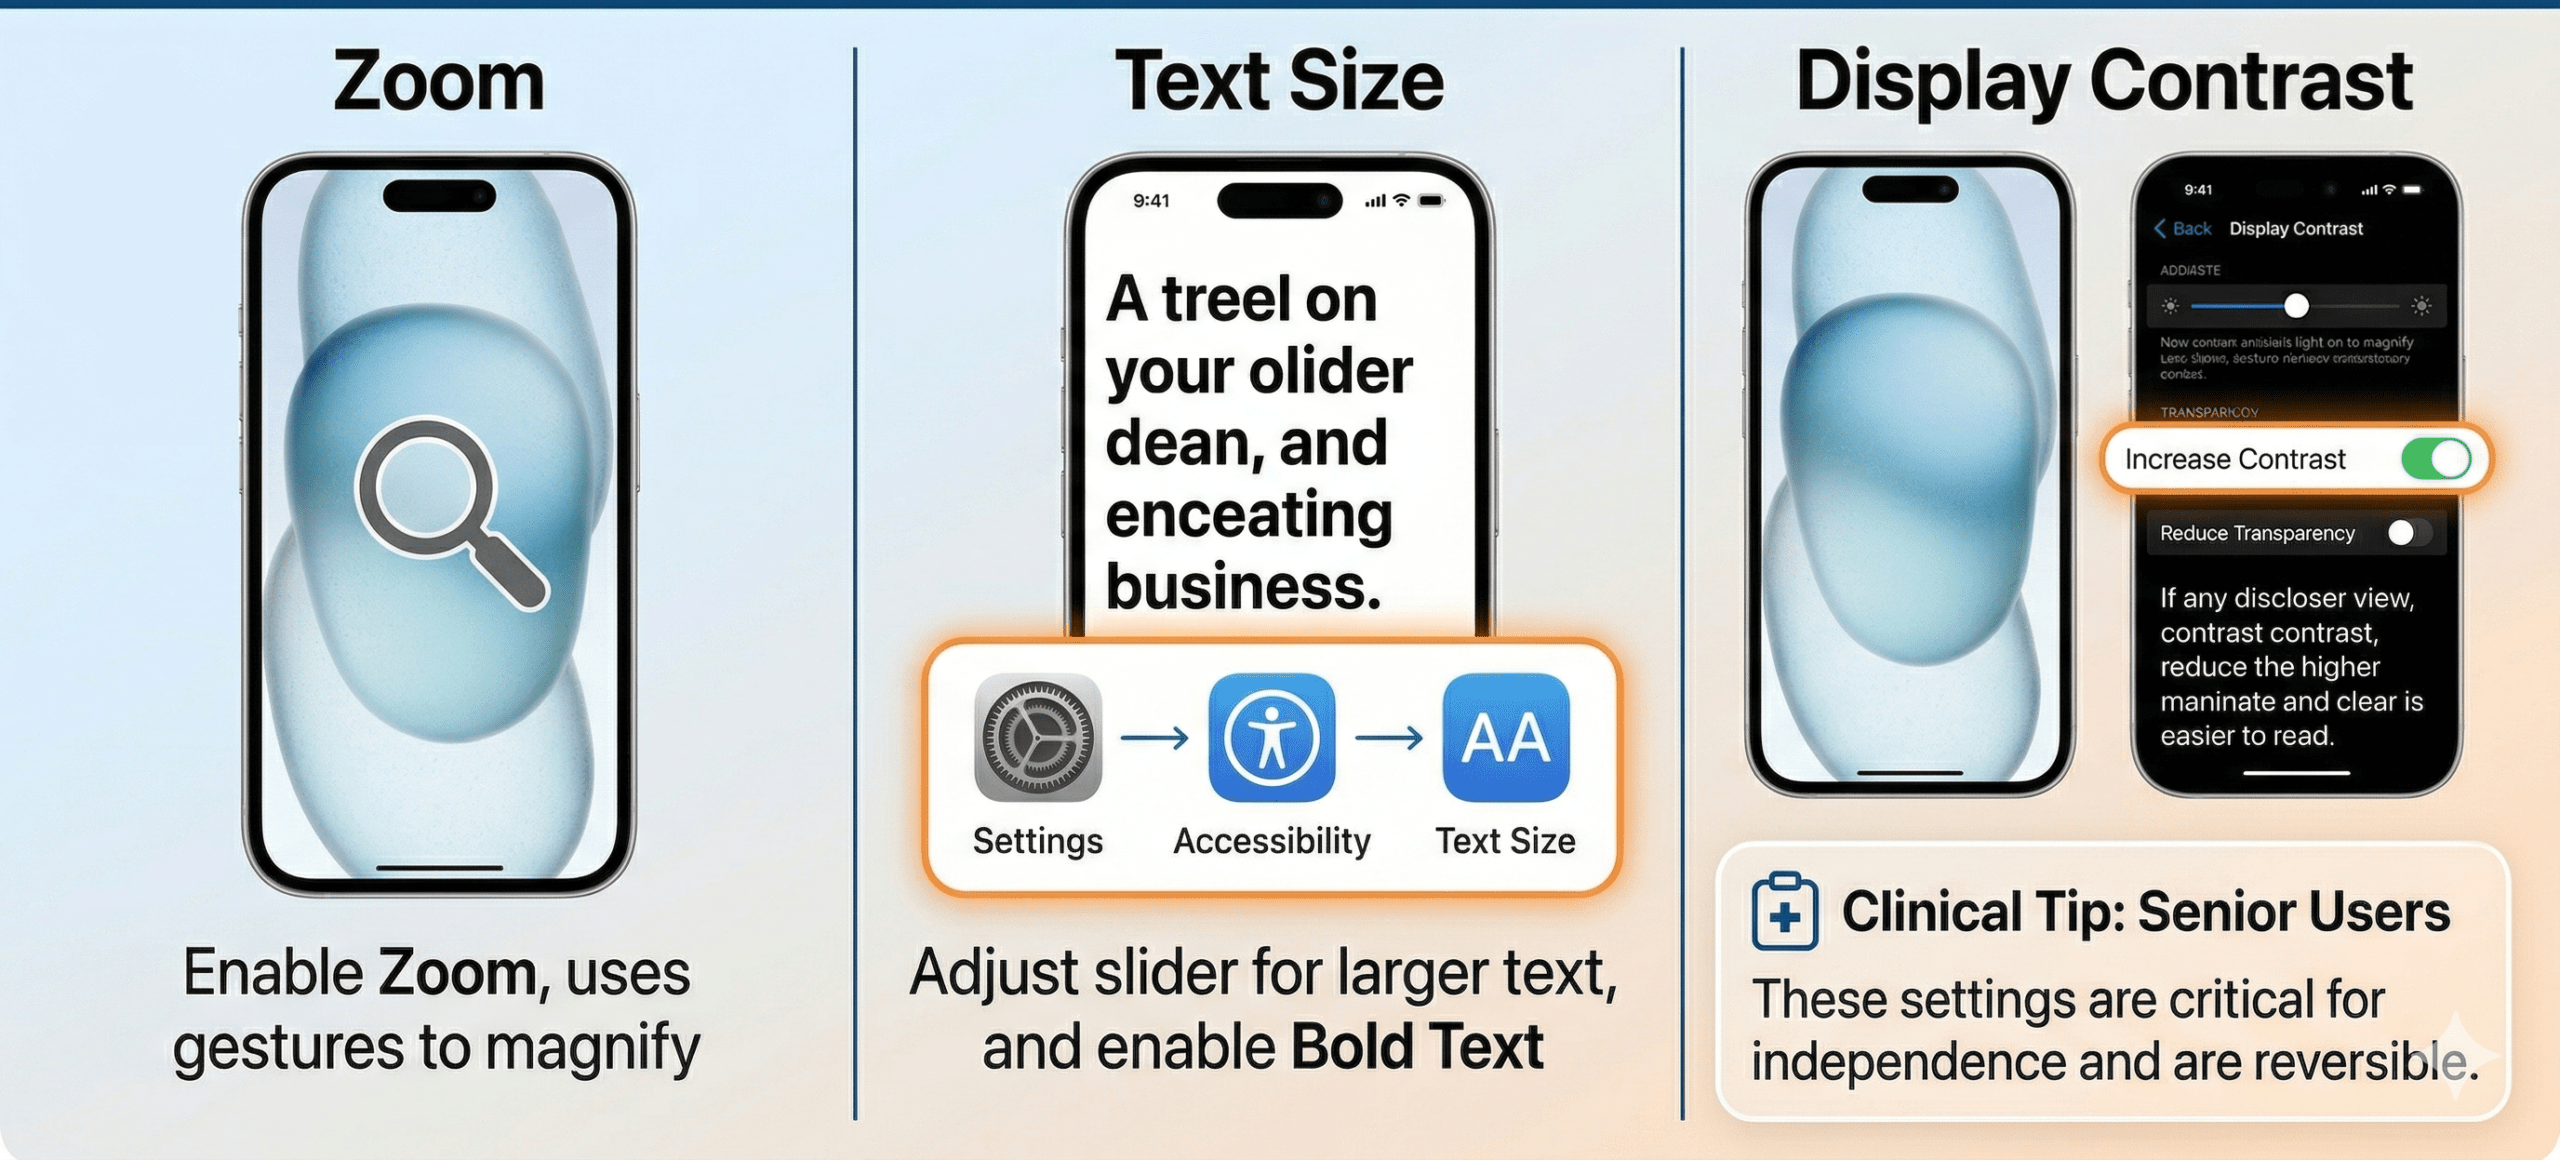
Zoom is different from simply increasing text size. It magnifies the entire screen — every button, every image, every menu — up to 15 times its normal size. Think of it as a digital magnifier built into the phone.

How to turn it on:
- Go to Settings → Accessibility → Zoom
- Toggle Zoom on
- The screen will immediately zoom in — don’t panic
How to use it once it’s on:
- Double-tap with three fingers to zoom in and out
- Drag with three fingers to move around the screen
- Double-tap with three fingers and drag to change the zoom level
As a therapist, I recommend starting at a zoom level between 3x and 5x for most clients. Higher than that and you lose too much context — you can’t see enough of the screen at once to navigate comfortably.
Clinical tip: For clients with central vision loss (such as macular degeneration), Full Screen Zoom works better than Window Zoom. For clients with peripheral field loss (such as glaucoma), Window Zoom is often easier to manage because it preserves more of the surrounding screen.
To choose between them: inside the Zoom settings, tap Zoom Region and select your preference.
2. Text Size — Larger Text Across the Whole Phone
This is the simplest setting and often the most immediately helpful. Increasing text size makes messages, emails, websites, and menus easier to read without needing to zoom at all.
How to set it:
- Go to Settings → Accessibility → Display & Text Size
- Tap Larger Text
- Toggle on Larger Accessibility Sizes
- Use the slider at the bottom to increase text size
Slide it to the right until text feels comfortable — there is no wrong answer here. I usually recommend going larger than feels necessary at first. People almost always end up sliding it further right after a few days.
Important: Not every app respects this setting. Apple’s own apps (Messages, Mail, Safari, Notes) respond perfectly. Some third-party apps have their own text size controls.
3. Zoom Controller — Your On-Screen Magnifier Handle
The Zoom Controller is a small floating button that stays on your screen at all times, giving quick access to zoom controls without needing to remember the three-finger gestures. For seniors with motor difficulties or those unfamiliar with multi-finger gestures, this is a game-changer.
How to turn it on:
- Go to Settings → Accessibility → Zoom
- Toggle on Show Controller
A small grey circle will appear on your screen. Tap it once to open zoom options. Tap it twice to zoom in instantly.
You can drag this controller anywhere on the screen — put it in whatever corner is most comfortable and out of the way.
Clinical tip: I recommend the Zoom Controller for any client who finds multi-finger gestures frustrating. It removes the most common barrier to using Zoom effectively.
4. Display & Text Size — Changing Color Contrast
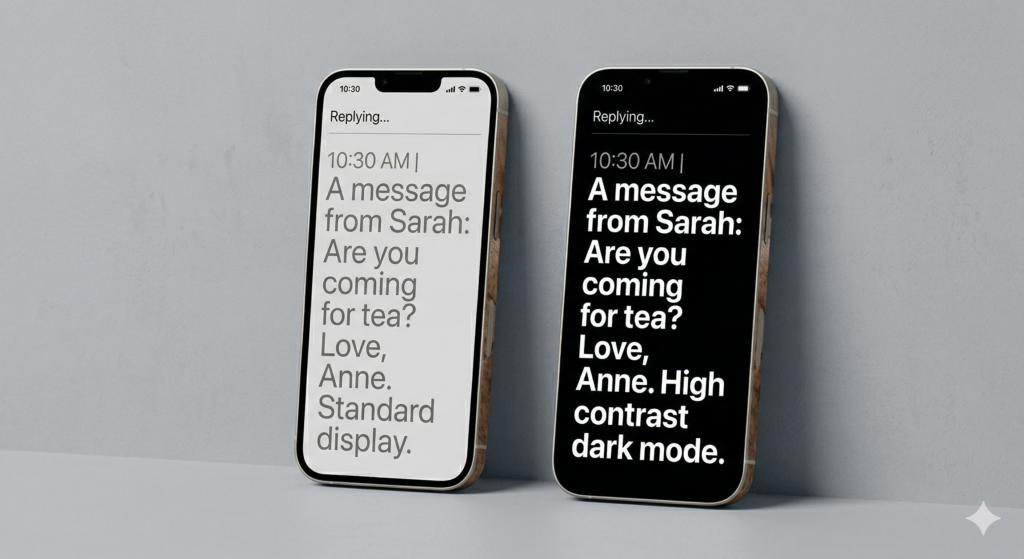
For many low vision conditions — including diabetic retinopathy, glaucoma, and age-related macular degeneration — low contrast is a major barrier. Text that appears perfectly readable to someone with normal vision can completely disappear against a slightly lighter background for someone with contrast sensitivity loss.
iPhone has several contrast tools built in, all in the same menu.
How to get there:
- Go to Settings → Accessibility → Display & Text Size
The settings that matter most:
Increase Contrast — turn this on. It darkens borders, shadows, and backgrounds throughout the system, making UI elements stand out more clearly.
Smart Invert / Classic Invert — inverts screen colors. White backgrounds become black, black text becomes white. Many clients with light sensitivity find this dramatically more comfortable. Try Classic Invert first — Smart Invert attempts to leave photos and images unchanged, but the result can sometimes be inconsistent.
Colour Filters — if your client has a specific colour vision deficiency, go to Colour Filters → turn on → select the appropriate filter (Greyscale, Red/Green, Green/Red, Blue/Yellow). For most low vision clients without a specific colour deficiency, Greyscale can reduce visual noise and make the screen feel calmer and easier to read.
Reduce White Point — this reduces the intensity of bright colors. For clients with light sensitivity or photophobia, turning this on and sliding it to around 40-60% can make the screen significantly more comfortable to look at.
5. Display Brightness and Auto-Brightness
Brightness that is too high causes glare and discomfort. Brightness that is too low makes everything harder to see. Finding the right balance matters, and it’s worth setting it manually rather than leaving it entirely to the phone.
How to adjust brightness:
Swipe down from the top-right corner of the screen to open Control Centre. The vertical slider with a sun icon controls brightness. Set it to a comfortable level — around 50-70% works for most indoor environments.
Auto-Brightness:
- Go to Settings → Accessibility → Display & Text Size
- Scroll to the bottom
- Toggle Auto-Brightness on
When enabled, the iPhone uses its ambient light sensor to automatically adjust brightness based on the room lighting. I recommend leaving this on — it means the phone will dim automatically in dark rooms and brighten outdoors, which reduces the jarring effect of stepping between different lighting environments.
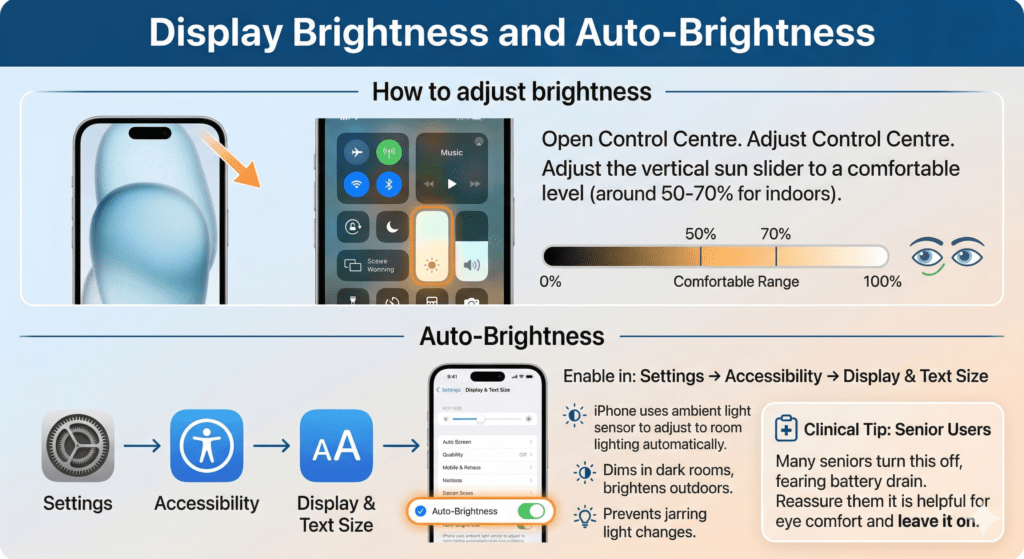
Clinical tip: Many seniors turn Auto-Brightness off because they don’t understand what it does and assume it’s draining the battery. Reassure them it’s helpful and leave it on.
What to Do After Making These Changes
Once you’ve adjusted these settings, give the phone back to your family member and let them use it normally for a few days before making further changes. Accessibility settings take time to get used to — the goal is gradual comfort, not perfection in one session.
In Part 2, we’ll cover VoiceOver, Speak Screen, Spoken Content, and how to set up Siri as a low vision tool — features that move beyond the visual and bring audio into the picture.
Ali Jafari is a Certified Low Vision Therapist (CLVT) at Vision Loss Rehabilitation Canada and holds a Master of Vision Science from Université de Montréal. The information in this article is educational and does not replace a professional low vision assessment.